✨ Made with Daftpage
Trezor.io/start – An Easy 800-Word Beginner’s Guide
Cryptocurrency is becoming more common, but keeping it secure is more important than ever. Online wallets and exchanges can be hacked, which is why many people prefer hardware wallets. Trezor is one of the most trusted hardware wallet brands, and its setup process begins at Trezor.io/start, the official page for getting started with your new Trezor device.
Whether you’ve purchased a Trezor Model One or a Trezor Model T, this guide explains what Trezor.io/start is, how to use it, and how to set up your wallet safely in simple, easy-to-understand language.
What Is Trezor.io/start?
Trezor.io/start is the official setup page created by Trezor to help users initialize their hardware wallet securely. The page walks you through:
Installing the Trezor Suite app
Setting up your new Trezor device
Understanding your recovery seed
Creating your PIN
Securing your wallet
Managing your cryptocurrencies
Because there are fake sites and phishing pages online, always type the address Trezor.io/start directly in your browser. Never use links from random messages, ads, or unknown platforms.
Why Use a Trezor Hardware Wallet?
Many beginners wonder why a hardware wallet is necessary when they can store crypto on an exchange or software wallet. A Trezor device offers several major benefits:
1. Offline Protection
Your private keys stay inside the Trezor device and never touch the internet. This significantly reduces the risk of theft.
2. Easy Management With Trezor Suite
The Trezor Suite app provides a simple interface where you can send, receive, buy, and manage multiple cryptocurrencies.
3. Supports a Wide Range of Coins
Trezor supports Bitcoin, Ethereum, Litecoin, Cardano, and thousands of tokens through various networks.
4. Open-Source Transparency
Trezor’s software and firmware are open-source, allowing anyone to verify the security.
5. User-Friendly Setup
Even if you’re new to crypto, Trezor.io/start makes the setup experience simple and secure.
Step-by-Step Guide to Using Trezor.io/start
Here is a clear breakdown of the setup process:
Step 1: Visit Trezor.io/start
Start by manually entering Trezor.io/start in your browser. This ensures you land on the correct, official page.
Once the page loads, you will be asked to select your device model:
Trezor Model One
Trezor Model T
Choose the one you purchased.
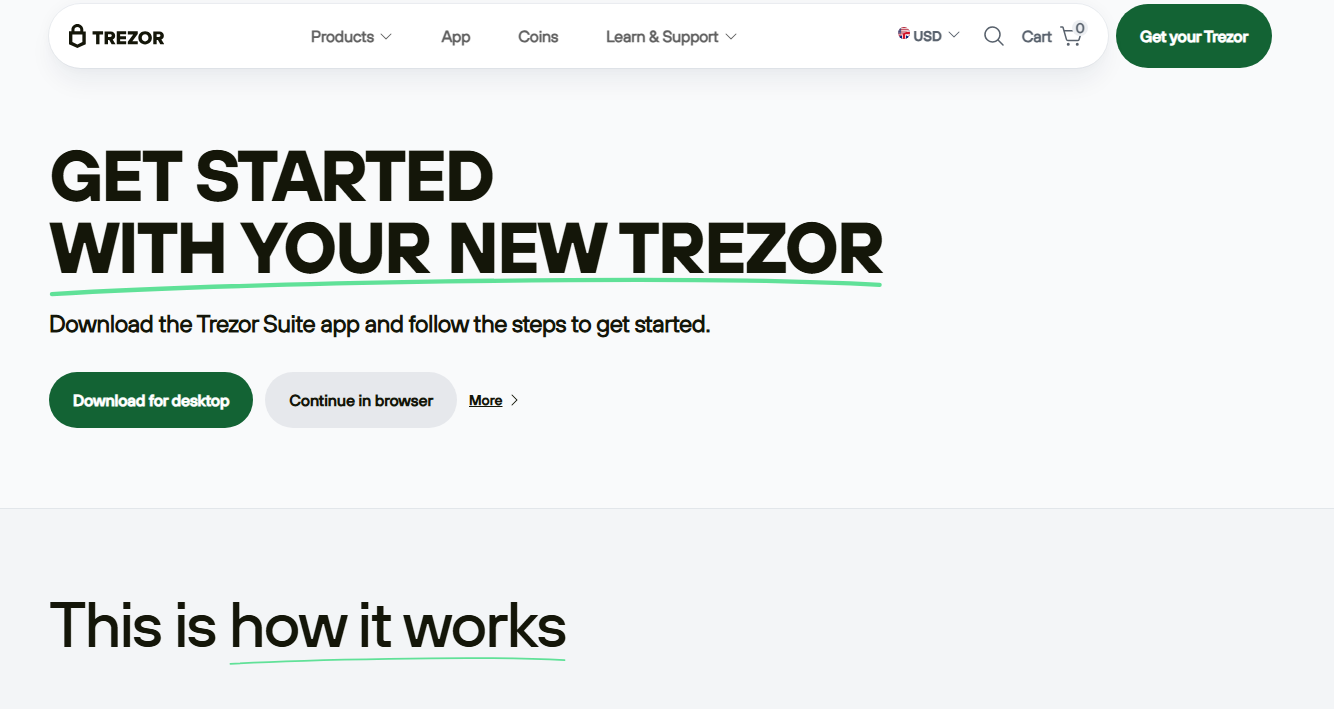
Step 2: Download Trezor Suite
The next step is downloading Trezor Suite, the official app for managing your wallet.
Trezor Suite is available for:
Windows
macOS
Linux
There is also a browser version, but the desktop app is more secure and recommended.
After downloading, install and open the application.
Step 3: Connect Your Trezor Device
Plug your Trezor into your computer using the provided USB cable.
The app will automatically detect your device and guide you through the installation of Trezor firmware.
Firmware ensures your device is running the latest security updates. If the device comes without firmware installed, Trezor Suite will prompt you to install it before proceeding.
Step 4: Create a PIN for Your Wallet
You will now be asked to create a PIN, which protects your device from unauthorized access.
A few simple rules:
Choose a PIN that is not easy to guess
Do not use patterns like 000000 or 123456
Memorize your PIN
Never write the PIN on your device or store it in a photo
You’ll use this PIN every time you plug in your Trezor.
Step 5: Write Down Your Recovery Seed Backup
This is the most important step in the entire setup.
Your Trezor will display a seed phrase, also called a recovery seed.
Depending on the model, it may be 12, 18, or 24 words.
This recovery seed is the master key to your crypto wallet.
Important safety rules:
Write the words on the paper backup card provided
Write them in the correct order
Never take a photo
Never store them digitally
Never share the words with anyone
Do not type the seed phrase into any website
Store the phrase in a secure offline location
If you lose your recovery seed, you risk losing access to your crypto.
If anyone else gets the seed, they can steal your funds.
Trezor will also ask you to confirm the seed to make sure you wrote it correctly.
Step 6: Finalize Setup and Open Trezor Suite
Once your recovery seed is confirmed and your PIN is set, you can continue in the Trezor Suite app.
Inside Trezor Suite, you can:
Add accounts
Send and receive crypto
Check balances
Exchange or buy crypto through integrated services
Track your portfolio
Customize security settings
The interface is clean, simple, and beginner-friendly.
Step 7: Add Cryptocurrency Accounts
To manage specific coins, you must add them as accounts.
For example:
Add a Bitcoin account for BTC
Add an Ethereum account for ETH and ERC-20 tokens
Add a Cardano account for ADA
Once accounts are added, you can safely send, receive, and store crypto.
Important Safety Tips
To keep your crypto secure:
Only visit Trezor.io/start for setup
Never share your recovery seed
Avoid storing your seed phrase digitally
Always verify addresses on the Trezor screen before sending crypto
Beware of fake customer support pages
Keep your device and seed card in a safe place
These simple habits protect you from most common crypto attacks.
Final Thoughts
Trezor.io/start is the safest and most reliable way to set up your Trezor hardware wallet. The site gives clear instructions, secure downloads, and step-by-step guidance so even beginners can protect their digital assets with confidence. Once your device is fully set up and your recovery seed is stored safely, you can use Trezor Suite to manage all your cryptocurrencies in one secure place.